
Late one Thursday afternoon in Raleigh, the familiar 'static' feeling in my wrists turned into a sharp ache that made finishing a client brief impossible. It wasn’t just a twinge; it was that deep, radiating heat that tells you your body has officially clocked out, even if your deadlines haven't. I sat there in my high-end ergonomic chair—the one I finally caved on after years of cheaping out—and realized that even the best lumbar support in North Carolina couldn't fix the fact that my keyboard was sitting three inches too high. I was fighting a geometry battle I was destined to lose.
As a freelance content strategist who shifted to full-time remote work back in 2021, I’ve spent more hours than I’d like to admit trying to 'hack' my posture. I’ve tried the wrist rests that look like beanbags, the vertical mice that feel like holding a joystick, and the standing desks that I eventually just left in the 'sitting' position because my legs got tired. But that afternoon last mid-November, I looked at my forearms. They were angled upward like a drawbridge. My wrists were kinked. No wonder my shoulders felt like they were trying to swallow my ears by Friday at noon.
The 29-Inch Lie: Why Your Desk Height is Killing Your Wrists
Most of us are working on desks that follow the BIFMA standard height of 29 inches. If you’re around five-foot-six like me, a 29-inch surface is great for writing a thank-you note by hand, but it’s a nightmare for typing on a mechanical keyboard. When you place a keyboard on top of a standard desk, you’re adding another inch or two of height. To reach the keys, you either have to raise your chair so high your feet dangle—which kills your circulation—or you keep your chair low and arch your wrists upward.
The NIOSH ergonomic recommendations suggest a recommended elbow angle for typing of 90 to 120 degrees. When my keyboard was on the desk surface, I was lucky to hit 80 degrees. My arms were constantly 'reaching up,' which puts an incredible amount of strain on the small muscles in the forearms. I realized I didn't need a new desk; I needed to reclaim the space between my lap and the desktop. I needed a way to bring the keys to me, rather than climbing up to them.
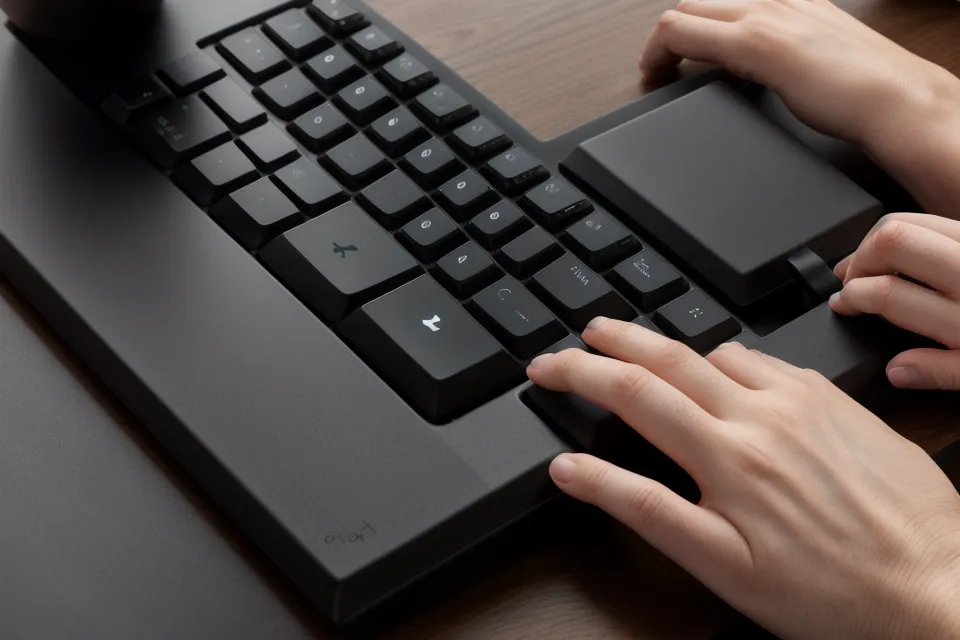
The Magic of Negative Tilt (And Why It’s Not Just Jargon)
When I started digging into keyboard trays, I kept seeing the term 'negative tilt.' In my head, that sounded like the keyboard would be sliding off into my lap. But in 'ergonomic-speak,' that just means the back of the keyboard (the part with the function keys) is lower than the front (the spacebar side). It turns out this is the holy grail for carpal tunnel syndrome prevention.
The OSHA recommended neutral wrist tilt is actually 0 to -15 degrees. Most 'feet' on the back of keyboards actually tilt the keyboard *toward* you, which is the exact opposite of what you want. A good tray allows you to slope the keys away from you. This opens up the carpal tunnel and lets your hands rest in a natural, flat position. I’m not a doctor or an ergonomics specialist—just a tired remote worker—but after about six weeks of use, that 'static' feeling in my wrists started to fade. If you’re dealing with real, persistent pain, please see a physical therapist or a physician, because a piece of plastic under your desk isn't a substitute for medical advice.
I remember one humid afternoon last May, sitting in my office while the kids were actually being quiet for once, and just running my hands over the cool, textured surface of the phenolic tray under my palms. It felt substantial. It didn't bounce when I typed. When I adjusted the tilt to about ten degrees downward, I felt that specific moment of relief when my forearms finally rested parallel to the floor, and the tension in my upper trapezius vanished. It was like someone had finally let the air out of a balloon that had been overinflated for years.
The Measurement Trap: Tracks and Clearance
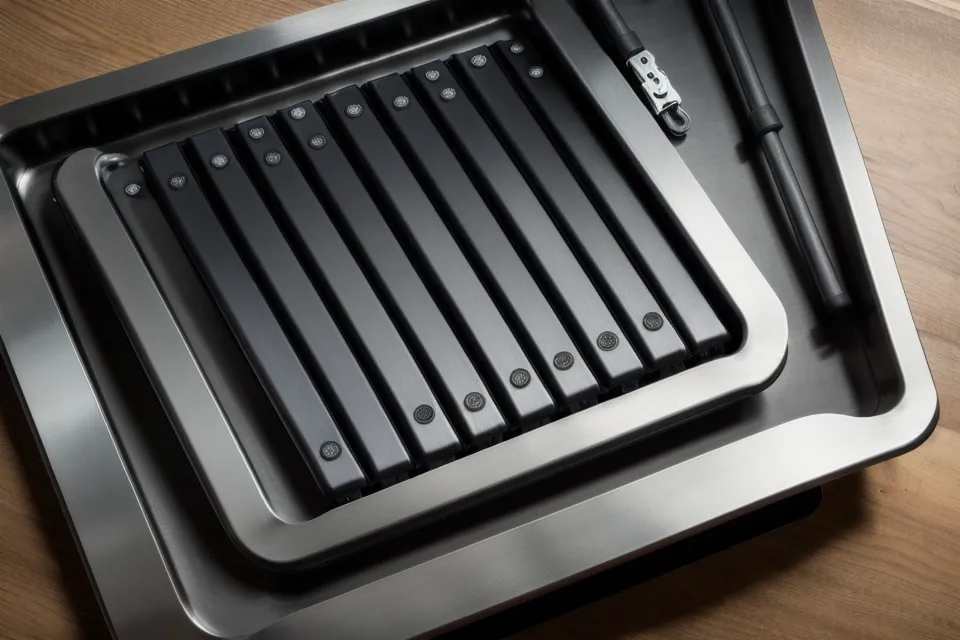
Before you go buying the first tray you see, you have to play detective under your desk. I learned this the hard way after almost buying a tray that would have been blocked by the support beam of my desk. Most high-quality trays run on a metal track. For a tray to fully retract under your desk when you aren't using it, you usually need a required under-desk clearance for standard tracks of at least 17 inches.
If you have a minimalist desk—like the one I talked about in my Branch Daily Desk Review—you might find that there isn't quite enough depth for a full 17-inch track. You have to measure from the front edge of the desk back to any crossbar or cable tray. Some manufacturers sell 'track spacers' that allow the tray to sit lower and bypass those beams, but that takes away some of your precious legroom. It's a game of inches, and you don't want to be the person with a half-installed steel track and a desk full of holes you can't use.
The Distance Dilemma: Why Your Neck Might Start to Hurt
Here is the thing no one tells you about keyboard trays: they can actually make your neck pain worse. I know, it sounds counterintuitive. But think about the geometry. When you install a tray, you are effectively moving your body 10 to 12 inches further away from your monitor. Unless you have a very large screen or a monitor arm that can bring the display toward you, you’re going to find yourself leaning your head forward to see the text.
This is the 'hidden trap' of ergonomic furniture. You fix the wrists, but you break the neck. I spent late February adjusting and readjusting my setup because while my wrists felt great, I was getting headaches from squinting. I eventually had to pull my monitor arm much closer than I ever thought I would. When you're planning where to place a standing desk in a small bedroom office, you have to account for that extra 'depth' the keyboard tray adds. You aren't just sitting at the desk anymore; you're sitting a foot behind it.
What to Look For: Phenolic vs. Plastic
I’ve run through enough cheap office supplies to know that 'budget' usually means 'disposable.' When it comes to the tray itself, you’ll usually see two materials: high-density plastic or phenolic resin. The plastic ones are cheaper, but they tend to flex. If you’re a heavy-handed typer like I am—especially when a client sends a 'quick' revision request on a Friday afternoon—that flex becomes a bouncy, annoying vibration.
The phenolic trays are thin (usually about a quarter-inch) but incredibly stiff. They feel more like a dense wood or a stone surface. They also hold up better to the 'snack tornadoes' that happen when my toddler decides my office is the best place to eat a granola bar. A quick wipe and it’s like it never happened. You also want to look for the silent, heavy glide of industrial-grade ball bearings in the track. If the tray squeaks or sticks every time you pull it out, you’ll eventually just stop using it, and that’s a hundred bucks or more down the drain.
The Installation Struggle is Real
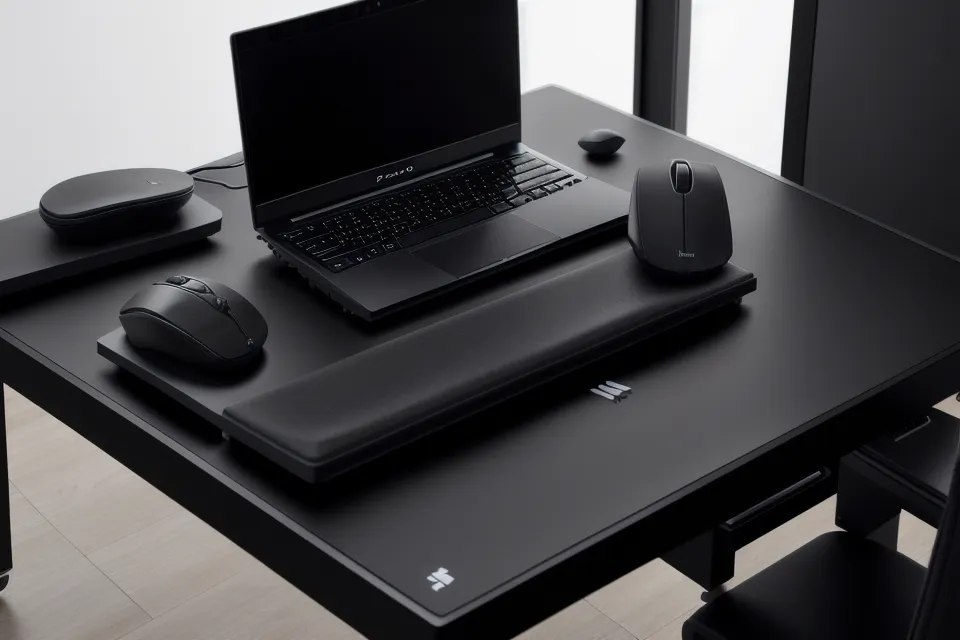
I’m not going to sugarcoat it: installing a keyboard tray is a pain. You’re usually lying on your back under your desk, trying to hold a 15-pound steel track over your head while lining up tiny screws. I highly recommend using a piece of masking tape to mark your drill holes first. And for the love of your flooring, put down a rug or a towel before you start, or you’ll end up with metal shavings in your carpet for the next three years.
Once it’s in, though, the difference is night and day. It’s like the first time you get an office chair with proper support—you can read more about that in my guide on how to choose office chair lumbar support. It’s not just about the one piece of furniture; it’s about how the whole system works together. The tray allows your chair to be at the right height for your feet, while the negative tilt keeps your wrists in that 'neutral zone' that the experts rave about.
Final Thoughts: Reclaiming Your Workspace
Looking back at that 'Friday afternoon shoulder lock' I used to live with, it feels like a memory from a different life. Reclaiming the space between my lap and the desktop didn't just fix my wrist pain; it changed how I felt at the end of the day. I was no longer fighting my furniture just to get through my inbox.
An ergonomic keyboard tray isn't a flashy purchase. It doesn't look as cool as a new curved monitor or a designer lamp. It’s a heavy, functional piece of industrial hardware that lives under your desk. But for those of us who make our living at a keyboard, it’s the difference between ending the week with a sharp ache and ending it with enough energy to actually enjoy the weekend. Just remember to measure twice, account for your monitor distance, and maybe keep a drill handy—your wrists will thank you by next Friday.